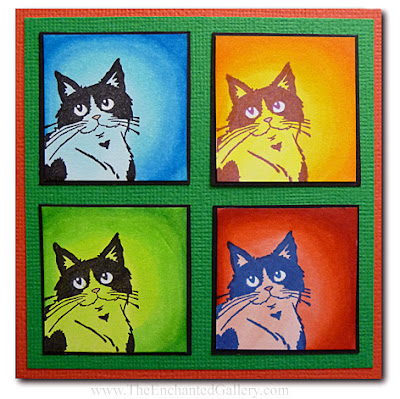
Meowy Christmas :)
Wednesday, December 26, 2012
Pop Art Cat Christmas Card
Friday, December 21, 2012
Quick and Easy Christmas Gift Project - Rubber Stamped Wood Fridge Magnets
I start by coloring the wood shape, here I colored the entire shape with a yellow marker followed with a few swipes of color directly from VersaMagic chalk ink pads. Allow to dry for a few minutes, or gently pat with a paper towel and move on to rubber stamping with a StazOn ink pad.
I also made a night time snow scene with this stamp by changing the colors and applying white snow splatter (apply white acrylic paint on a toothbrush, spraying the paint by bending the bristles.)
Glue a magnet on the back and give it a coat of sealer and you've got a quick and easy handmade gift. I use e-6000 glue for the magnet, and a simple wipe-on sealer such as mod podge.
Happy Holidays :)
Friday, December 14, 2012
Domino Animals and Art Nouveau Woodland Scenic New Rubber Stamps
Animal theme domino size rubber stamps including owls, tigers, cats and dogs.
Art Nouveau woodland animals, scenic landscape and nature design ribber stamps.
Example art projects coming soon :)
Saturday, July 28, 2012
Easy to Make Polymer Clay Pendants Using Jewelry Blanks and Perfect Pearls
Monday, April 02, 2012
Flexible push molds for polymer clay site update
Including:
There are also a few site changes as I am adding new sections, including handmade pendants, magnets and gift items along with a terrarium craft section with flower-soft and miniature garden supplies.
All KrystalKraft acrylic shapes have now been sold out and discontinued and I am working on removing that page link from all sections.
Thursday, January 19, 2012
Winter Snow Pine Tree Rubber Stamped Christmas Card with Masking and Sponging Ink Coloring Technique
First I put the paper I was stamping on down, then the paper mask over the area I wanted to look like snow on the ground, then rubber stamped over it using Memento Black. I made sure that the ground part of the image stamped onto my mask, so when I moved the paper mask all that was left was my rubber stamped image missing the ground area of the artwork. I used a sponge dauber and Memento "London Fog" gray ink pad and gently applied ink in an upward motion over my paper mask. I moved the paper mask to a different spot and repeated the ink application with the sponge.
I prepared background paper for this card using the same paper masking method above and also using a snowflake paper punch as a mask.
I used a Gelly Roll white gel pen to trace along the tops of the trees and make dots all over the image.
Hope everyone had a great holiday season! Now that it's over I can get back to being a little less busy and a little more creative :)
Kimberly


